Step 1: Start With Your Anatomy
Before talking about cup sizes, Dr. Zamani takes a detailed set of breast measurements. This includes:
- Breast footprint — the width and natural boundaries of your breast tissue, which largely determines what implant base diameters will actually fit your frame
- Breast shape and height
- Degree of ptosis (droopiness) — this tells me whether a lift, or a lift-adding element, needs to factor into the plan
- Tissue stretch and natural fullness — how much your skin and tissue can accommodate, and how much natural coverage you already have to help conceal the implant
These measurements matter because every breast has physical limits. Pushing past them — choosing an implant too large for your footprint or tissue quality — can compromise skin integrity, cause visible rippling or bottoming out, and ultimately work against the natural, ideal shape most patients are after. Your anatomy sets the outer boundaries of what’s possible; from there, we start narrowing the field.
Step 2: Understand Your Specific Goals
Once Dr. Zamani knows what your anatomy can support, she narrows things further based on what you actually want — and this takes real conversation, not just a size request.
Here’s the challenge: two patients can both say “I want a full, natural C cup,” and mean two entirely different things. One patient’s mental image might be a subtle, soft augmentation. Another might be picturing something noticeably fuller. Same words, different pictures.
This is why Dr. Zamani always tell patients: a picture is worth a thousand words. She asks patients to bring in photos — both images that inspire them and images of results they specifically don’t want. Both are equally useful in helping her understand your vision.
We also talk through the details that don’t always come up naturally:
- Do you want more medial cleavage, or are you not concerned with it?
- Do you like some lateral fullness (“side boob”), or would you prefer your arms to pass cleanly at your sides without interference?
- Do you have physical activities or a lifestyle that should inform implant profile or placement?
Step 3: Try It On — The “Goldilocks” Method
Talking through goals is essential, but nothing replaces actually seeing and feeling a size on your own body. That’s why every patient tries on in-office sizers to preview what different implants would look like in their own clothing and frame.
Dr. Zamani uses what she calls the Goldilocks approach: once you’ve found a size you love, she still has you try on one size up and one size down. This isn’t indecision — it’s confirmation. Trying the neighboring sizes helps you feel confident that what you’ve chosen truly is the best fit, not just a fit. This is why her patients rarely experience size doubt or wonder “should I have gone bigger?” later in recovery. You’ve already answered that question for yourself, before you’re ever in the operating room.
Step 4: See Your Results Before Surgery
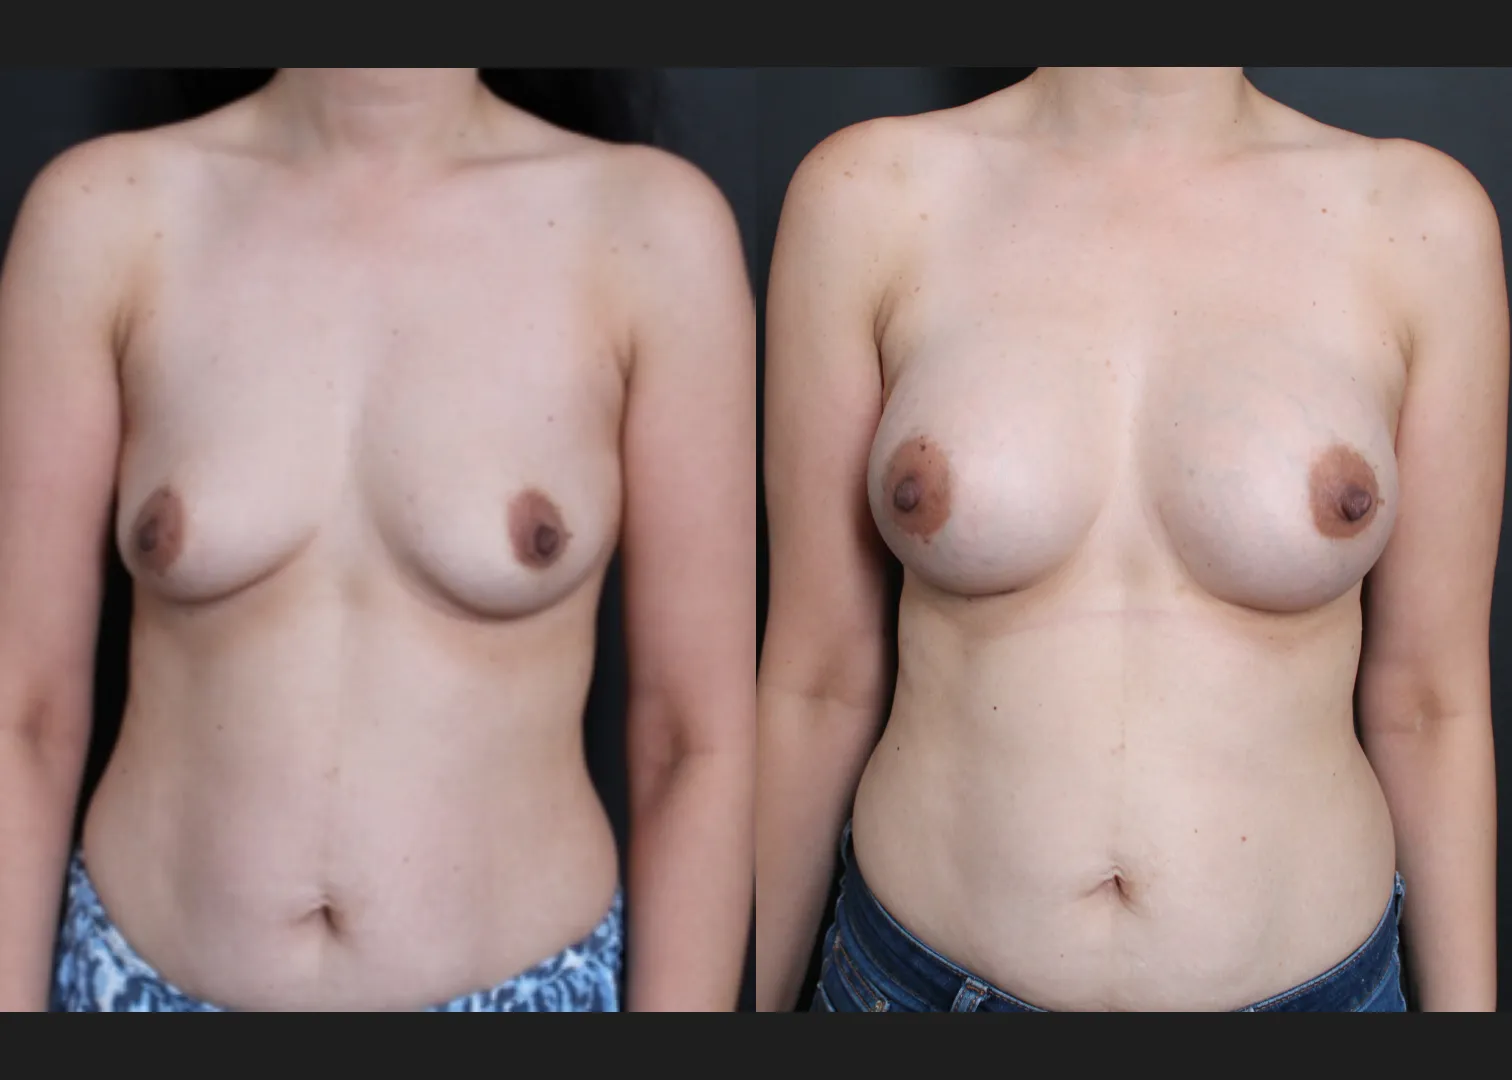
The last piece of the process is 3D simulation. Dr. Zamani uses Crisalix imaging technology to generate a personalized simulation of your expected post-surgical results based on your actual measurements and chosen implant. Patients can even access their simulations at home afterward — to sit with the images, compare options, and talk them over with the people they trust.